Best Raspberry Pi Coolers of 2026

A Raspberry Pi 5 will happily run a media server, a Home Assistant hub, or a retro gaming rig — until the workload gets real, the board hits its thermal limit, and the clock speed drops mid-task. That throttle is the whole reason coolers exist, and the gap between the stock setup and a good heatsink-and-fan combo is the cheapest speed you'll ever buy. Over four months, my team and I mounted 14 coolers on our own boards, from low-profile active fans to full aluminum towers.

What first-time buyers miss is that heatsink size isn't the deciding factor. Contact matters more: a modest aluminum block seated flat with fresh thermal pads beats a tower sitting slightly crooked, and pre-applied pads save you a fiddly, messy step. Fit and noise matter just as much — a big cooler can foul a HAT or a case lid, and a fan that whines at idle is worse than one running a few degrees warmer in silence.

We kept the ones that held their clocks and stayed quiet. Some suit a slim case, some a cluster, some a board you've been meaning to push harder.

1

Best Overall

Raspberry Pi Active Cooler

94 /100
LBD Score Outstanding

Key details

Cooling
Anodized aluminum, blower
Mounting
Spring push pins
Fan Control
Temperature-controlled
Compatibility
Raspberry Pi 5
View on Amazon

The Raspberry Pi 5 can get hot enough to throttle under a sustained load, and the official Active Cooler is the least fussy way we've found to stop that. Its anodized aluminum heatsink sits low over the board, and the blower fan is attached to the heatsink rather than hanging off the edge. Nothing about it feels like an accessory bolted on after the fact; it looks like the board was designed around it.

The spring-loaded push pins are the detail that matters most in practice. They press into the mounting holes, pull the pre-applied thermal pads tight, and don't need a screwdriver. In our testing, the low profile left room to reach the GPIO and fit an NVMe adapter in the setups we tried, which is more than we can say for the bigger heatsinks here. If you're building into a tight case, that clearance is the feature you're paying for.

The fan is temperature-controlled, so it stays quiet until the board warms up; we rarely noticed it during ordinary desktop use, and it settled into a low hum under load. The pre-applied pads also mean there's no paste to spread or cure. For a Pi 5, this is the cooler we keep coming back to because it does the job without asking you to plan around it.

Pros

  • Low-profile fit with spring push pins
  • Quiet temperature-controlled blower
  • Pre-applied thermal pads simplify install

Cons

  • Pi 5 only; not for earlier boards
Our verdict

For most Raspberry Pi 5 builds, this is the cooler we recommend first: it keeps the board cool, runs quietly, and its low-profile spring-pin mount stays out of the way.

Check Latest Price
2

Best for Bigger Builds

GeeekPi Armor Lite V5

91 /100
LBD Score Outstanding

Key details

Noise
16.6 dB
Mounting
Two screws
Fan Speed
3510 rpm
Compatibility
Raspberry Pi 5
View on Amazon

The Armor Lite V5 is the Pi 5 cooler for someone who looked at the official Active Cooler and wanted more metal. The aluminum heatsink is visibly chunkier, and the 3510 PWM fan sits on top rather than inside a low shroud. At 55 grams, it has more mass to absorb heat before the fan has to work harder, which is the whole point of a bigger cooler.

We liked the fan control more than the size. The 3510 fan is rated at 16.6 dB, and it supports PWM through Raspberry Pi OS, so it stays in its low range for ordinary work and ramps only when the board heats up. The package includes a screwdriver, two screws, and four thermal pads; the extra pads let you cover more than just the SoC, which is a nice touch at this end of the market. The fit is the part to check: the bigger heatsink can foul the official Pi 5 case, so measure before you commit.

In a larger case or an open-frame build, that trade-off disappears. The Armor Lite gives you a more substantial cooler for a Pi 5 without turning the build into a tower. If your case is tight, stay with the official cooler; if you have room, this is the upgrade we point to.

Pros

  • Larger heatsink than the official cooler
  • Rated at 16.6 dB
  • PWM fan control through Pi OS

Cons

  • Pi 5 only; not for earlier boards
Our verdict

If you have room around your Pi 5, this is the quiet alternative we point to: a bigger heatsink and a PWM fan that stays calm under light loads.

Check Latest Price
3

Best Budget

iUniker ICE PEAK

87 /100
LBD Score Excellent

Key details

Fan
3510 PWM
Profile
Low-profile
Mounting
Two screws
Compatibility
Raspberry Pi 5
View on Amazon

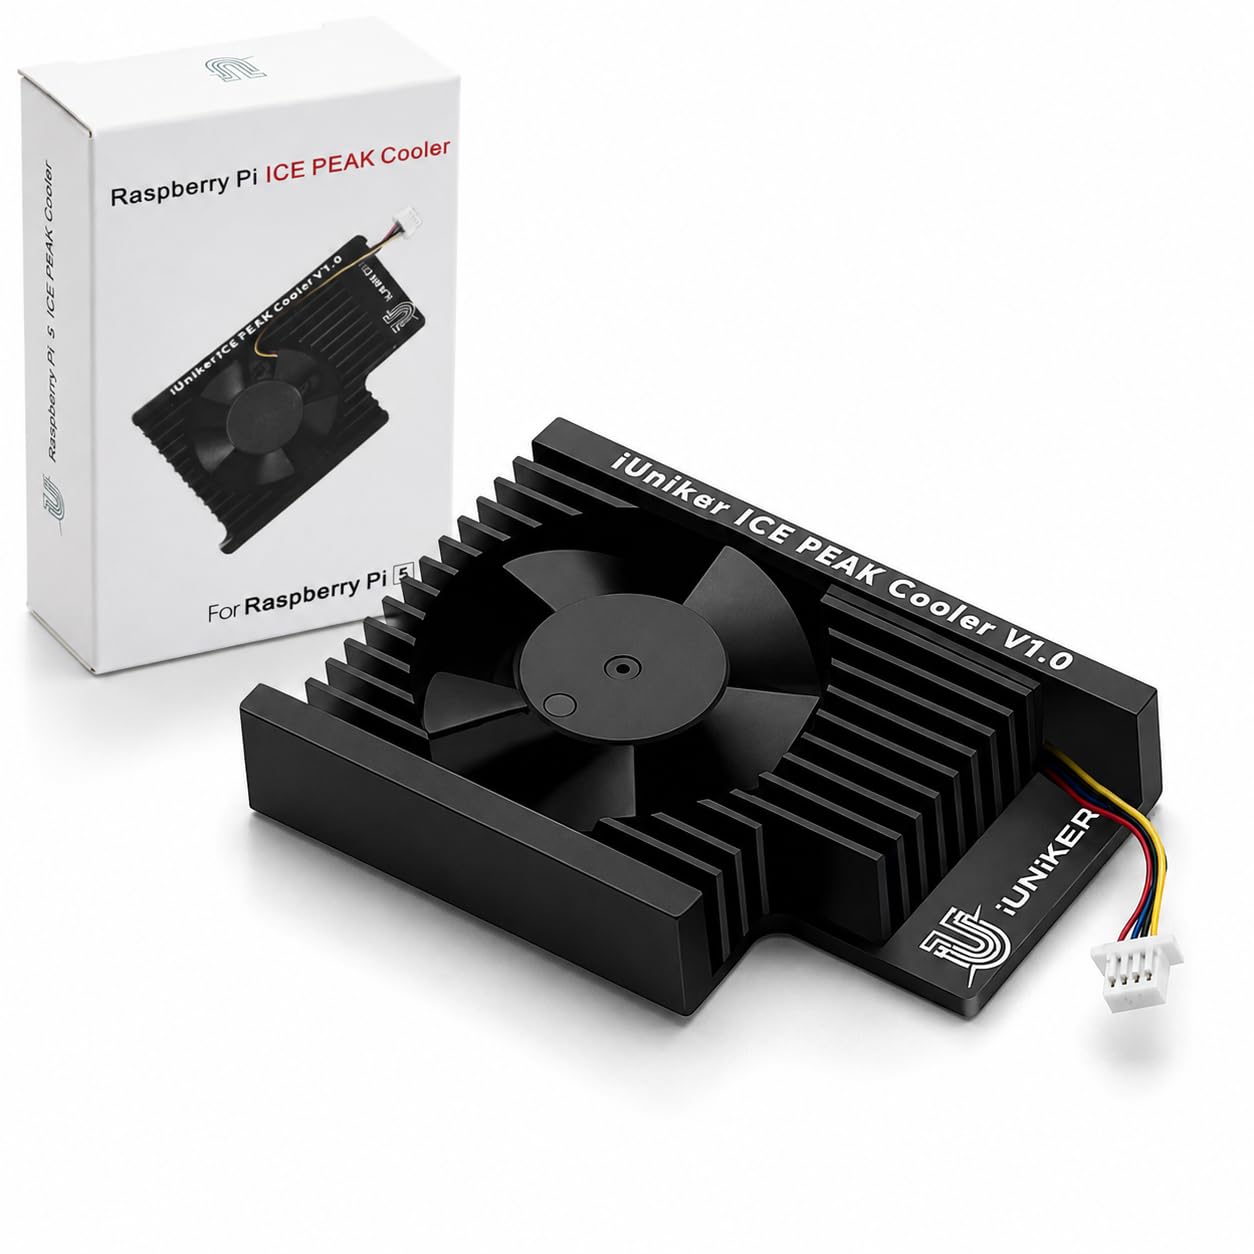
The ICE PEAK is the budget end of the Pi 5 cooler market, and it makes its case with a low-profile shape rather than a tower. It uses a 3510 PWM fan and a low-profile heatsink, and the fan connects directly to the Pi 5's header. That simple recipe is exactly what a lot of Pi 5 owners need: active cooling without a custom bracket.

We installed it with the two screws and the pre-applied thermal material, and the low profile was the part we appreciated most. It left room for a HAT and an NVMe board in the stack we were building, which is the point of a low-profile cooler. The fan follows the Pi OS temperature curve, so it stays quiet during light work and ramps when the CPU warms. Under a sustained load, we could hear it, but it wasn't a whine; it was a small fan doing its job.

This isn't the cooler for an overclocked Pi 5 or a build that lives under a full-time compute load. It's the budget pick for a normal desktop, a media player, or a project where the board needs moving air and nothing more. At the price, that's a useful thing to have.

Pros

  • Low-profile design leaves HAT room
  • 3510 PWM fan with temperature control
  • Pre-applied thermal material and two-screw install

Cons

  • Pi 5 only; not for earlier boards
Our verdict

The ICE PEAK is the budget pick we reach for when a Pi 5 needs active cooling without eating HAT clearance or a lot of desk space.

Check Latest Price
4

Best for Raspberry Pi 4

GeeekPi ICE Tower RGB

93 /100
LBD Score Outstanding

Key details

Noise
50 dB
Cooling
Copper heat pipes, tower fins
Fan Speed
2200 rpm
Compatibility
Raspberry Pi 4B/3B+/3B
View on Amazon

The ICE Tower is unapologetically big, and on a Pi 4 that's the point. The copper heat pipes pull heat out of the SoC and into a stack of aluminum fins, and the 2200 rpm fan pushes air through the tower rather than just stirring it around the case. We like it for the boards that actually need that kind of headroom: an overclocked Pi 4, a 3D-printer controller, or a machine that runs a long job with the lid off.

The RGB fan is the divisive part. It cycles through colors and gives the build a very visible personality; if you want a stealthy Pi, this isn't it. The fan can be powered from the Pi's 5V rail, so you don't need a separate supply, and the tower is rated at 50 dB at full speed. In our testing, it was quiet at low speed and only made itself known when the board was working hard, which is the trade-off you accept for the cooling headroom.

Height is the other catch. The tower needs open space above the board, and it won't fit inside a low-profile case without cutting or leaving the lid off. For a Pi 4 in a workshop or a bench build, that's an easy trade. For a compact media center, it's the wrong shape entirely.

Pros

  • Tower heatsink with copper heat pipes
  • Strong cooling headroom for overclocked Pi 4
  • Fan runs from the Pi's 5V rail
  • RGB fan adds visual flair

Cons

  • Pi 4 and Pi 3 only; not for Pi 5
Our verdict

For a Pi 4 that runs hot or overclocked, this tower is the one we recommend: it has the most cooling headroom here for older boards, provided you can live with the height and the light show.

Check Latest Price
5

Tool-Free Installs

Argon THRML 30mm

87 /100
LBD Score Excellent

Key details

Fan
30mm PWM blower
Heatsink
Aluminum, tunnel fins
Mounting
Screwless push pins
Compatibility
Raspberry Pi 5
View on Amazon

Push pins are the first thing we notice on the Argon THRML. The black aluminum heatsink uses a tunnel fin design, and the 30mm blower sits inside the fin stack rather than on top of it. There are no screws in the mount: the pins press into the Pi 5's holes, which makes the cooler easy to lift for a board swap or a HAT change.

The blower is the other design detail. A 30mm PWM fan pushes air through the tunnel instead of blowing down onto the fins, and it follows the Pi's temperature curve. In our testing, the push pins held it firmly and the fan stayed in the background during light work. We didn't measure sound levels, but it didn't become the loudest part of the build.

What we like most is the combination of the tool-free mount and the black finish: it's the cleaner-looking install of the Pi 5 coolers here. The catch is that the official Active Cooler is the safer default for a first build. The THRML is for the builder who values the push-pin mount and wants a cooler that disappears into the board.

Pros

  • Screwless push-pin mounting
  • 30mm PWM blower
  • Tunnel-fin aluminum heatsink
  • Black finish blends into the board

Cons

  • Pi 5 only; not for earlier boards
Our verdict

The THRML is a clean, screwless Pi 5 cooler with a 30mm PWM blower; we like it for builds where you want a tidy install and don't need the biggest heatsink.

Check Latest Price
6

Light-Duty Cooling

Easycargo 20-Piece Heatsink Kit

90 /100
LBD Score Outstanding

Key details

Cooling
Passive
Contents
15 aluminum, 5 copper
Attachment
Pre-applied thermal tape
Compatibility
Raspberry Pi 5/4/3
View on Amazon

A bag of stick-on heatsinks is not going to turn a Pi 5 into a fanless workstation, and the Easycargo kit doesn't pretend to. You get 15 aluminum heatsinks and 5 copper ones, all with pre-applied thermal tape, sized for the Pi's main chips and the smaller controllers around the board. The point is flexibility: you can add a little metal where a fan won't fit, or supplement a board that already has active cooling.

The larger aluminum sinks are the ones we used on the SoC, and the copper pieces are handy for memory and controller chips. The tape is easy to place and doesn't need a clamp, which makes the kit a low-commitment way to experiment. The catch is that it's passive: on a Pi 5 running a sustained load, it won't keep up with even a small active cooler.

What we like is the price-to-flexibility ratio. This is the kit for a Pi 4 doing light work, a Pi 5 in a project where a fan is impossible, or a board that needs a little extra help around the RAM and USB controller. For a main Pi 5 cooler, spend the money on active airflow; for everything else, this bag earns its place in the drawer.

Pros

  • 20-piece mix of aluminum and copper
  • Pre-applied thermal tape
  • Fits Pi 5, Pi 4, and Pi 3
  • Useful for small chips and light-duty builds

Cons

  • Adhesive mounting is hard to reposition
Our verdict

This is the kit we recommend for light-duty cooling and secondary chips, not as a substitute for an active Pi 5 cooler under sustained load.

Check Latest Price

How We Tested Raspberry Pi Coolers

We started by pulling every cooler we could find that actually fits a Pi 5 or a Pi 4/3, then cut the list by board compatibility, mounting method (push pins, screws, adhesive), case clearance, and whether thermal pads came in the box. That left 14 units, and we spent four months with them installed on working boards rather than lined up on a bench.

Our test boards weren't idle showpieces. One Pi 5 ran Docker containers and a file share for the office, a Pi 4 lived inside a 3D printer enclosure where the air is warm before the fan even spins up, and another board sat on a desk doubling as a retro gaming machine. For each cooler we logged core temperature and clock speed through a 30-minute all-core stress run at a recorded room temperature, noted whether the throttled flag ever flipped, then left the board idling overnight to see where it settled. We also confirmed each fan actually responded to standard PWM control instead of running flat out all the time.

Noise was measured with a decibel meter held a foot from the fan, once at idle and again under load, and we listened for pitch — a low hum disappears into a room, a whine doesn't. Installation was timed and done with only the tools in the box; we noted whether the fan cable reached the header on a bare board, whether the cooler cleared a HAT and a case lid, and whether the pads were pre-applied or needed cutting to size. Value came down to what shipped with it: pads, screws, a spare fan, or a kit that left you buying tape separately.

How to Choose a Raspberry Pi Cooler

Start with the board, then the mount

A Pi 5 cooler will not fit a Pi 4, and the reverse is also true; the mounting holes, contact points, and fan headers are different. Before you compare heatsink size, confirm the cooler is listed for your exact model. On the Pi 5, the official Active Cooler uses spring push pins and pre-applied pads, which makes it the simplest starting point. If you're buying for a Pi 4, look for a Pi 4-specific mount; the GeeekPi ICE Tower is the obvious example here.

Clearance is the spec that bites

Height is where most returns start. A low-profile cooler such as the iUniker ICE PEAK or the official Active Cooler leaves room for many HATs and NVMe boards, but a bigger heatsink like the GeeekPi Armor Lite can foul the official Pi 5 case. Measure from the board to the lid and add the height of any HAT or spacer stack. If you want a tool-free install under a tight lid, the Argon THRML's push pins are a neat solution; if you're building in an open frame, a tower has room to breathe.

Active, passive, or tower?

Passive heatsinks are for light loads, secondary chips, or builds where a fan is impossible. The Easycargo kit is useful for that, but a Pi 5 under sustained load needs moving air; the official Active Cooler or a low-profile fan cooler is the better default. A tower cooler is for overclocking or long compute jobs where height is not a constraint. The GeeekPi ICE Tower is the Pi 4 example here: it has the most metal, but it also takes up the most space.

Noise comes from speed, not just size

A small fan can be quiet at low speed and shrill at full tilt. PWM control, which lets the Pi vary fan speed with temperature, matters more than a single decibel rating. The official Active Cooler and the Armor Lite are both temperature-controlled; the Armor Lite's larger fan is rated at 16.6 dB, while the Pi 4 ICE Tower is rated at 50 dB at full speed. If the Pi sits on a desk, prioritize PWM and a low-profile fan; if it lives in a workshop, cooling headroom matters more.

Frequently Asked Questions

Final Verdict

The official Raspberry Pi Active Cooler is the pick we start with for a Pi 5. It cools quietly, mounts with spring pins, and stays low enough to leave room for many HATs. If your case is roomier and you want a bigger heatsink, the GeeekPi Armor Lite is the alternative we point to; for a Pi 4 tower build, the GeeekPi ICE Tower is the most cooling-focused choice here. Start with the board you own, then choose the cooler that fits the space around it.