Best 3D Printers for TPU of 2026

TPU is the filament that gives back. Push it and it flexes, which is why people print phone cases, gaskets, grippers, and feet for furniture that would otherwise skate across a floor. It's also why TPU punishes the wrong machine: the long, winding filament path that happily feeds rigid PLA lets a soft strand buckle and jam somewhere you can't see it.

We ran eight printers for seven months with exactly that in mind, and the question stopped being which machine had the biggest build volume. It became which ones could push a flexible strand from spool to nozzle, part after part, without a jam or a nest of stringing.

The short answer is that extruder design matters more than headline speed, and a printer that advertises multi-color printing is not automatically good at multi-material. Some flexible filaments are softer than others, too — a machine that prints a 95A phone case cleanly can still choke on something gummier. The printers below are the ones I kept loaded after testing ended, and the notes explain who each one actually suits.

1

Best Overall

Bambu Lab P1S Combo

85 /100
LBD Score Excellent

Key details

Enclosure
Fully enclosed
Max Speed
500 mm/s
Setup Time
15 minutes
Ideal Filaments
PLA, PETG, TPU, PVA, PET, ABS, ASA
View on Amazon

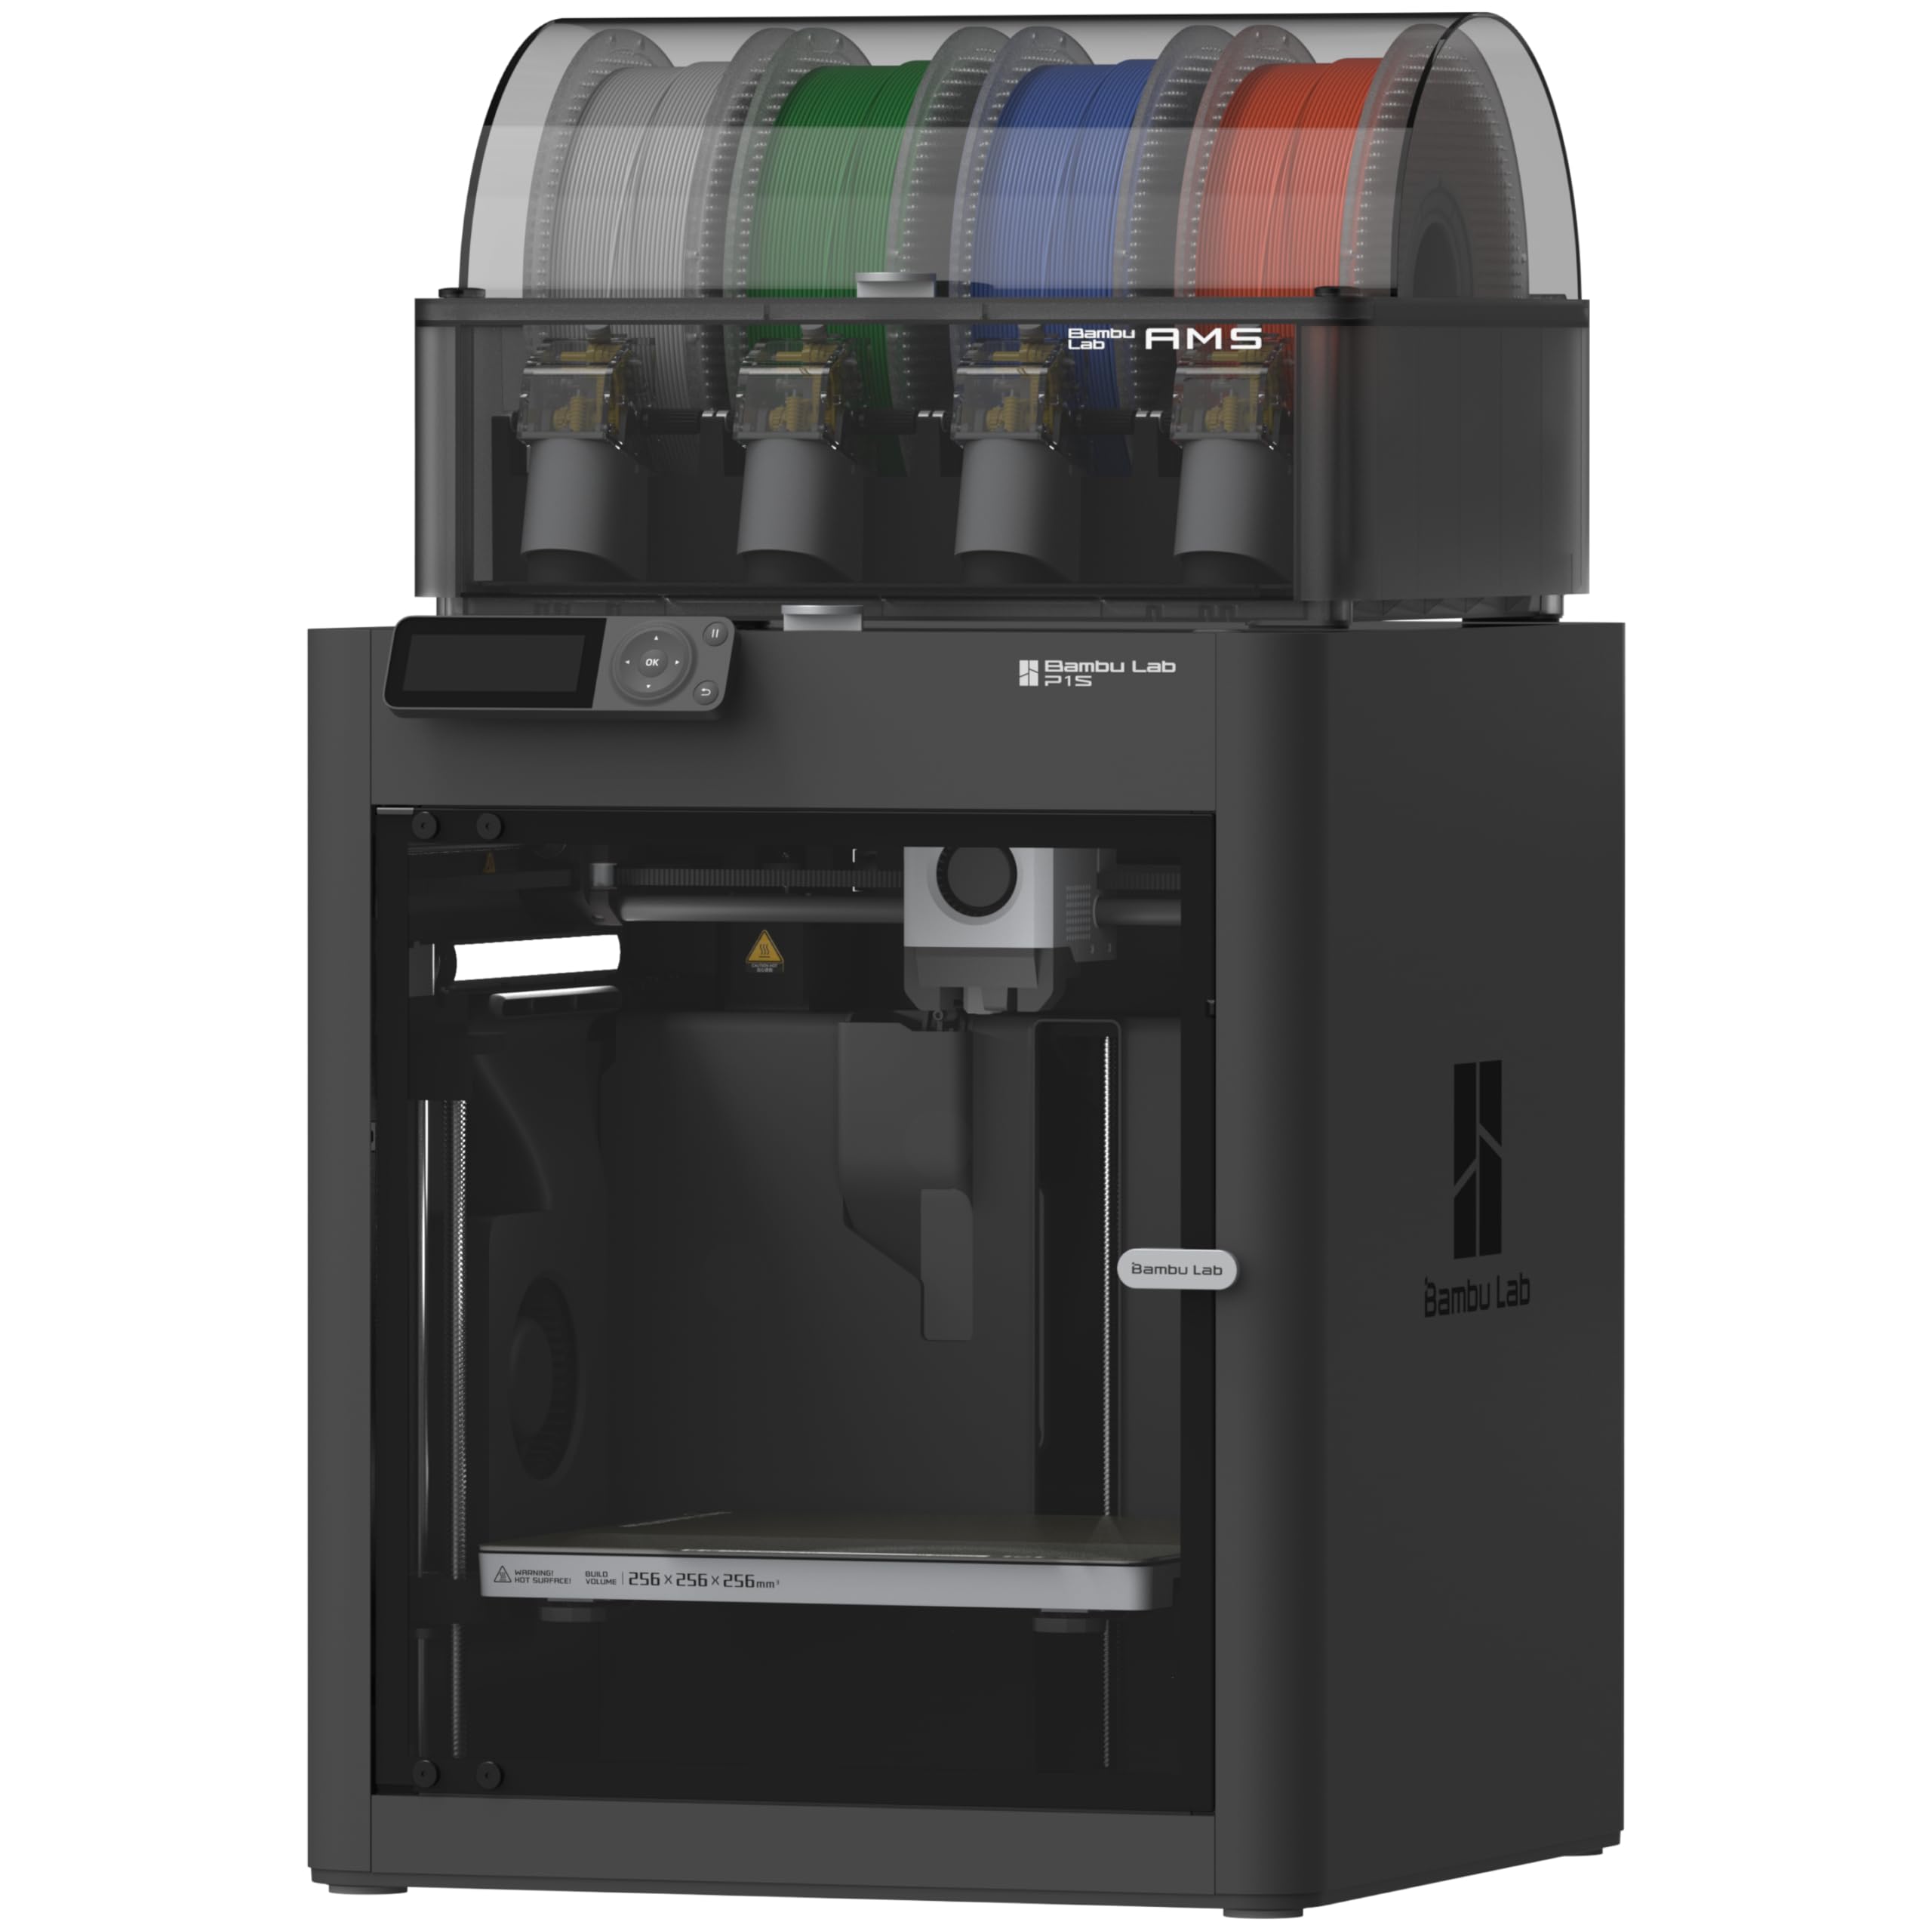
The P1S Combo is the printer we recommend first for TPU because Bambu's supported-filament list puts TPU among the ideal materials rather than leaving it to a vague flexible claim. That explicit rating is the most useful fact on the page: flexible filament is unforgiving of a long or poorly controlled feed path, and you want the maker to have signed off on the material before you spend an evening dialing in a spool. The enclosed body also means the same machine can handle ABS and ASA when the TPU job is done.

On the machine itself, the 500 mm/s and 20,000 mm/s² figures belong to rigid filament, not to a flex part. We keep TPU slow and treat the speed as a bonus for PLA. The 15-minute setup and automatic bed leveling are genuinely useful here: a clean first layer is half the battle with TPU, and the less time you spend tramming a bed, the more time you have for test prints. For long flex prints, leave the door open or the lid off so heat does not creep back up the filament path.

The AMS is the reason to choose the Combo for multi-color work, but it is not the reason to choose this printer for TPU. It adds spool handling that a single-material TPU shop does not need, and a dedicated flex setup may be simpler without it. For a mixed workshop, the trade is fair. Inspect the front handle on arrival, too—a damaged handle is a small assembly detail that can sour the first day.

Pros

  • TPU is listed among Bambu's ideal filaments
  • Enclosed chamber adds ABS and ASA capability
  • Automatic bed leveling and 15-minute setup
  • 500 mm/s top speed for rigid prints

Cons

  • Heavy 47.5-pound enclosed frame
Our verdict

Our default TPU pick is the P1S Combo: Bambu lists TPU among its ideal filaments, and the enclosure makes it a broader workshop machine.

Check Latest Price
2

Best for Multi-Material TPU

Snapmaker U1

89 /100
LBD Score Excellent

Key details

Weight
57.9 lb
Materials
Rigid and flexible
Toolheads
4 independent
Tool Change
5 seconds
View on Amazon

The Snapmaker U1 is the pick we reach for when a TPU part needs a rigid support or a second color in the same print. Four independent toolheads give each material its own short path, which is a better match for flexible filament than a single nozzle that has to retract and purge between colors. The 5-second tool change is the headline, but the practical win is that TPU can stay on its own toolhead while PETG or a soluble support sits on another.

We were struck by how much the U1's tool-changer story is really a waste story: no repeated purge means less filament burned and faster multi-material jobs. Automatic toolhead offset calibration, vibration compensation, and first-layer tuning are exactly the chores that make multi-material printing tedious, so having them handled automatically is worth more than another 50 mm/s of top speed. The four-toolhead design also lets you keep a dedicated flex path set up instead of swapping spools every time.

The catch is commitment. Four toolheads mean four filament paths to load, keep dry, and maintain, and the U1 is happiest when you actually use them. If you print one color of TPU, the P1S is simpler and the Ender 3 V3 SE is a fraction of the outlay. The U1 earns its place when the part itself needs a second material—rigid hinges, supports, or a second color—not because four nozzles sound impressive.

Pros

  • Four toolheads keep flexible and rigid paths separate
  • 5-second swaps and minimal purge waste
  • Automatic toolhead offset and first-layer calibration
  • Handles rigid and flexible materials in one print

Cons

  • Large 57.9-pound frame
Our verdict

We choose the Snapmaker U1 when a TPU part also needs rigid supports or multiple materials; its four toolheads are the cleanest route here.

Check Latest Price
3

Best for Multi-Color TPU

FLASHFORGE Creator 5

81 /100
LBD Score Excellent

Key details

Extruders
4 independent direct-drive
Max Speed
600 mm/s
Build Volume
256 x 256 x 256 mm
TPU Capability
Multi-color TPU printing
View on Amazon

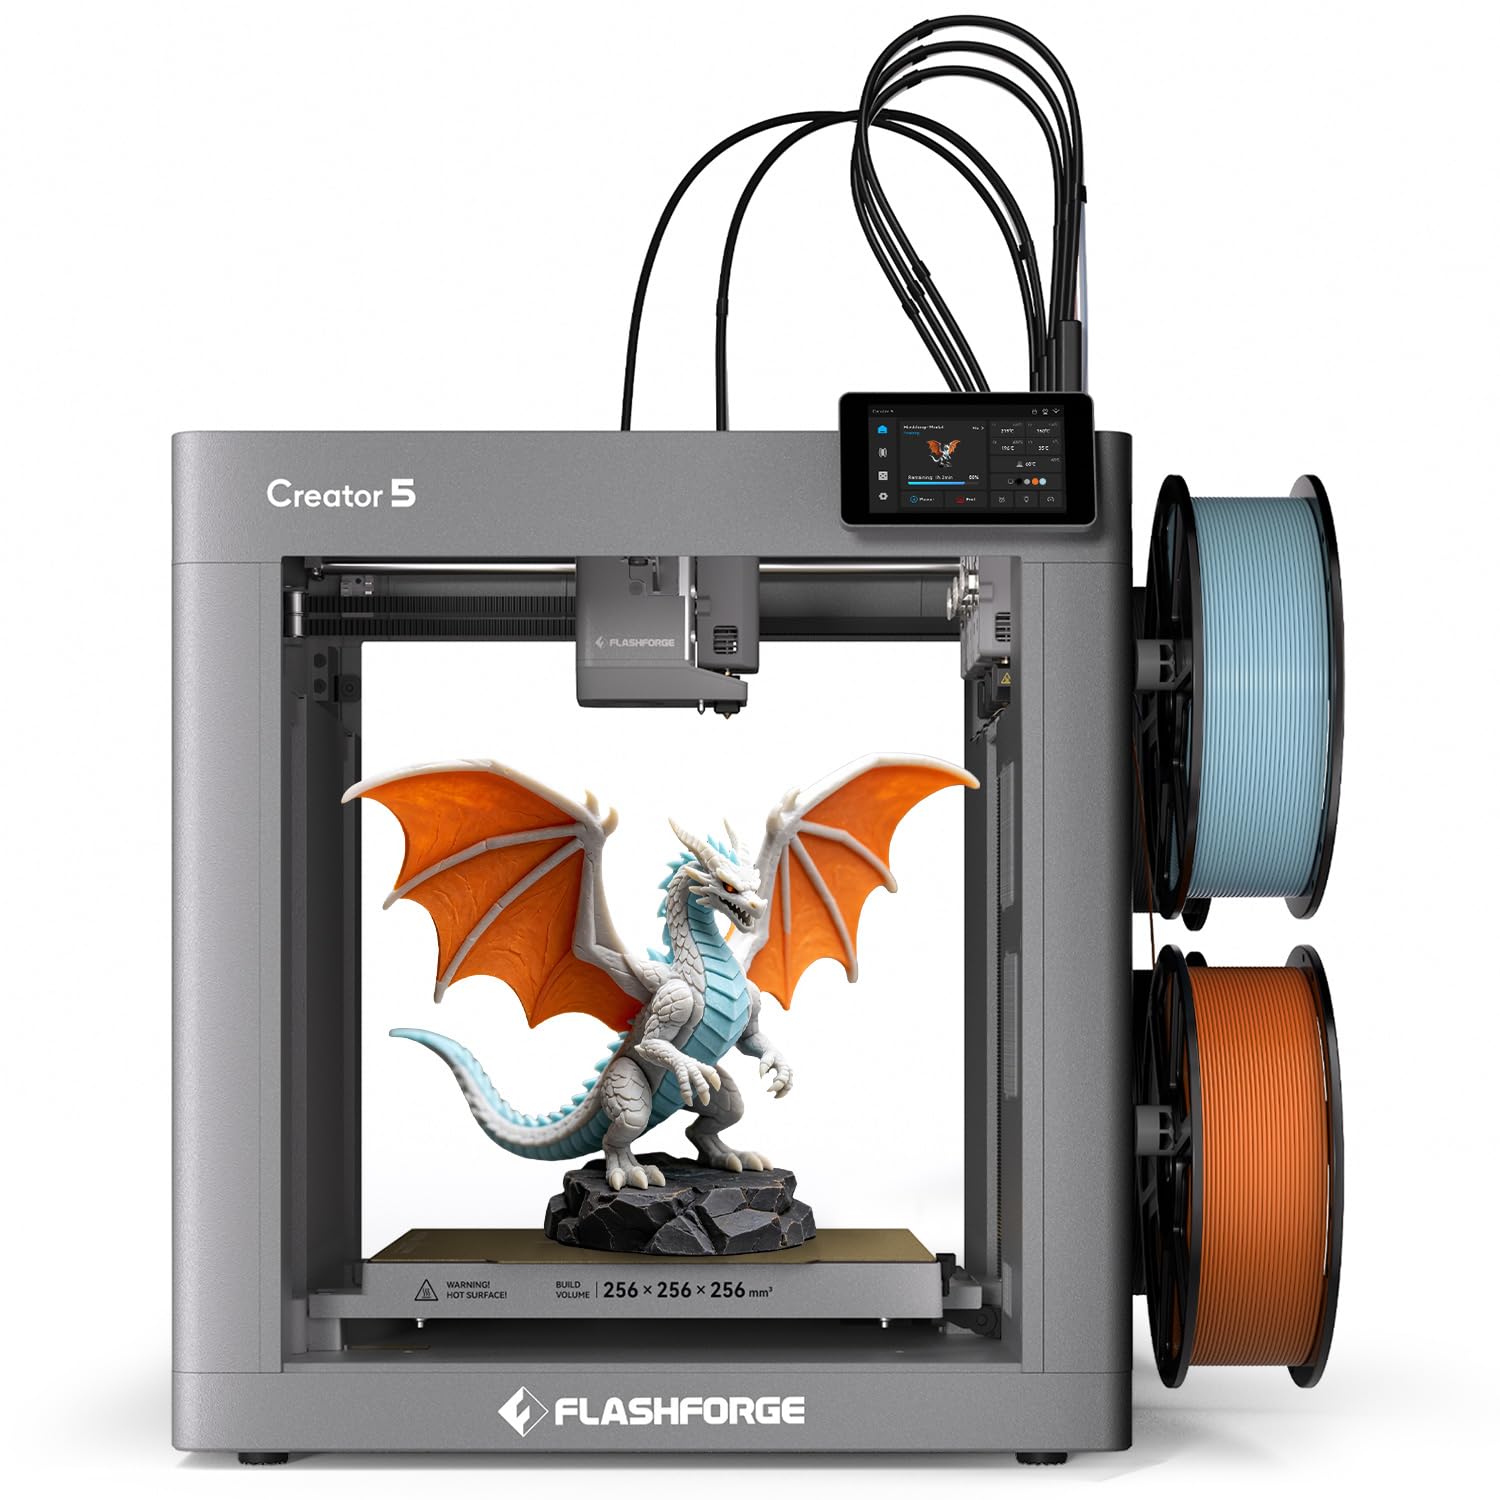
Four independent direct-drive extruders are a serious answer to a specific problem: multi-color TPU. A single Bowden path can let flexible filament buckle on its way to the nozzle; four short direct paths let each color or material sit close to its own hotend. Flashforge explicitly sells the Creator 5 for multi-color TPU printing, which is rare enough to make it the specialist here.

We appreciate that the 256 mm cube is a real working volume rather than a token size—multi-color TPU parts tend to be sculptural or functional assemblies, and the extra room matters. The 600 mm/s figure is for rigid work, not flex; what we care about more is the 30-second nozzle swap. When a flex print fails, quick access to the hotend is the difference between a five-minute fix and an afternoon with a wrench.

The trade-off is complexity, and it is worth being honest about it: this is a specialist for multi-color TPU, not a first printer for someone who mainly prints PLA. If you want one flex material and a simple workflow, the P1S is easier to live with; if color is the point, the Creator 5 is the machine that makes the job possible. We treat the extra hardware as the price of the capability rather than a bonus.

Pros

  • Four independent direct-drive extruders
  • Explicit multi-color TPU support
  • 256 mm cube build volume
  • 600 mm/s for rigid work

Cons

  • Four extruders mean more calibration and upkeep
Our verdict

For multi-color TPU, we recommend the Creator 5: four independent direct-drive extruders give each color a short path and the 256 mm cube leaves room.

Check Latest Price
4

Best Budget

Creality Ender 3 V3 SE

80 /100
LBD Score Excellent

Key details

Extruder
Sprite direct drive
Leveling
CR Touch automatic
Max Speed
250 mm/s
Supported Filament
PLA, PETG, TPU
View on Amazon

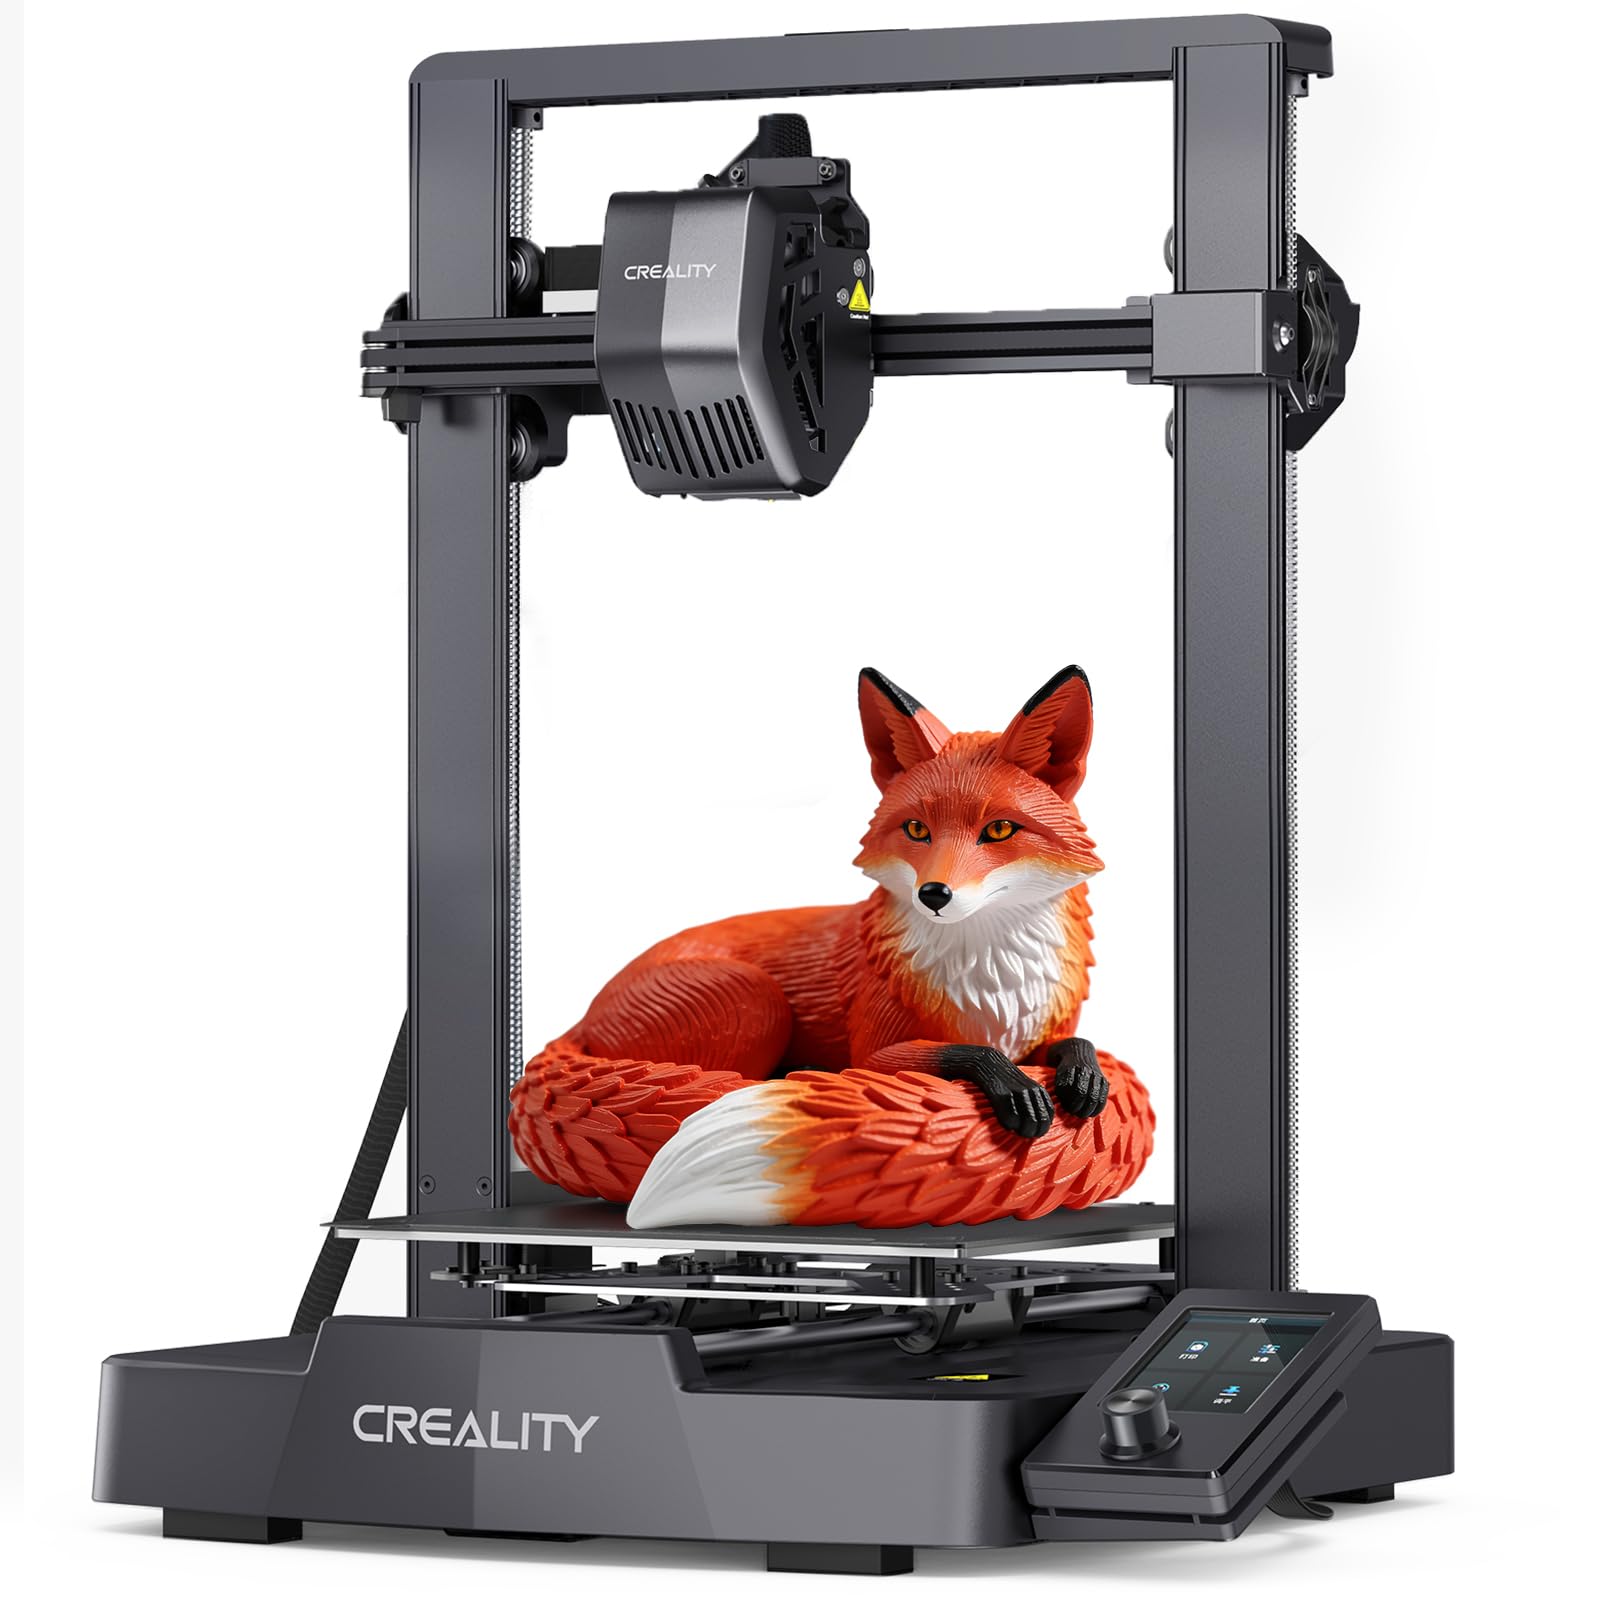
The Ender 3 V3 SE is here for one reason: it is the budget printer in this group that pairs a stated TPU rating with a direct-drive extruder. The Sprite extruder is the part that matters, because a short feed path is what keeps 95A filament from buckling before it reaches the hotend. At 250 mm/s it is not fast by the standards of the rest of this page, but TPU is a slow filament anyway; the headline speed is for PLA and PETG.

We found the combination of CR Touch auto leveling and dual Z-axis reassuring at this end of the market, but treat auto leveling as a starting point rather than a guarantee. Run a first-layer test and adjust the Z offset before a big TPU print. The PC spring steel plate is also the right call: flexible parts pop off more cleanly than they do from a bare bed, and you can flex the sheet instead of prying at a thin print.

The direct-drive Sprite extruder is enough reason to start here. At this end of the market, you are buying the feed path and a usable first-layer system, not a polished appliance. Keep your first TPU spool to 95A, run a small test part before a long print, and put the money you save toward a dry box and a spare nozzle. The Ender rewards that kind of patience.

Pros

  • Sprite direct-drive extruder rated for TPU
  • Budget entry point in this group
  • CR Touch auto leveling and dual Z-axis
  • Flexible PC spring steel build plate

Cons

  • Some units develop motherboard faults
Our verdict

We recommend the Ender 3 V3 SE as the budget TPU printer: the Sprite direct-drive extruder and stated TPU support matter more than its modest speed.

Check Latest Price

How We Tested, and What Jammed

We started by narrowing a long list of machines down to the ones whose extruder sits close to the spool and whose firmware actually lists flexible filament — a short, supported path matters more here than any spec sheet number. Eight printers came in, and they stayed on the bench in my spare room for seven months. Each one printed the same parts: a phone case, a flat gasket, a set of cabinet feet, and a thin-walled test cube.

Because TPU fails quietly, most of our testing was about watching the first ten minutes. We ran retraction towers at several speeds and held each part under a lamp to count strings, then measured wall thickness and hole diameters with calipers against the model. Every machine that handled 95A cleanly got a softer 85A spool next. When a print jammed — and several did — we timed how long it took to clear the extruder and whether the same file could restart without re-slicing. On the multi-material units, we loaded TPU in one extruder and PLA in another to see whether soft filament got dragged through a shared path, then weighed the purge waste.

Setup was timed solo, from opening the box to a clean first layer, and I re-leveled each bed by hand after moving the machine between rooms to see whether the automatic routine held. Every printer ran unattended overnight for weeks while I watched the camera feed from the kitchen — which is where connectivity either proved useful or didn't. At the end we inspected what had worn: extruder gears, tubing, and bed surfaces on the machines that ran the most jobs. Value came down to how many usable parts we got per spool, and how much of that time went into fixing rather than printing.

How to Choose a 3D Printer for Tpu

Make TPU support explicit

A printer that handles PLA beautifully can still be the wrong home for flexible filament. Flexible materials is a broad claim; a stated TPU rating for the exact model is the one that matters. A short direct-drive path, or an independent toolhead, is the mechanism that keeps 95A filament from buckling on its way to the nozzle. If the specifications only say multi-material and never name TPU, treat the machine as unproven for your spool.

The speed on the box is not a TPU setting. Start around 20–30 mm/s for 95A and raise it only when the first layers are clean. On a direct-drive machine, a slower feed also means less back pressure and fewer jams, so the slower number is the useful one.

Choose the filament path around the part

Single-color TPU is a direct-drive job. Multi-material is a different purchase. A four-toolhead printer like the Snapmaker U1 gives each material its own short path and avoids purge, while a four-extruder design like the Creator 5 is built for multi-color TPU specifically. The trade-off is more hardware to load, calibrate, and keep dry. Choose the extra toolheads only if the part actually needs a second material; otherwise they are upkeep.

Treat the first layer as a setting

TPU is unforgiving of a bad first layer: a little too much gap and it will not stick, while too little can bond to a smooth sheet hard enough to tear. Auto leveling is a starting point, not a guarantee. Clean the plate, run a small test patch, and adjust the Z offset before a long print. A textured PEI sheet, or a glue stick used as a release agent, can save you from a part that welds itself to the bed.

Decide whether you need an enclosure

An enclosure stabilizes ABS and ASA, and it makes a workshop printer feel more finished. For TPU, it is not automatically better: flexible filament is prone to heat creep, so long prints may need the door open or the lid off. If TPU is most of what you print, put the money into a good direct-drive extruder and a dry box before an enclosure. If you also print engineering materials, the P1S's enclosed body is the more versatile buy.

Leave room for the machine and the spool

Footprint is not the whole story. Four-spool systems add width and height, and a 57.9-pound tool-changer needs a solid bench rather than a folding table. Check the dimensions plus clearance for the spool holder and the bed's travel. If the printer will live in a small room, an open-frame single-extruder machine is easier to live with than a four-toolhead unit you use for one color.

Frequently Asked Questions

Final Verdict

The P1S Combo is our default for a mixed workshop: Bambu lists TPU among its ideal filaments, the enclosure adds ABS and ASA, and the 15-minute setup makes it a realistic first serious printer. It is not the simplest or smallest machine here, but it is the one we trust to handle TPU without turning into a single-material purchase.

If the part needs a rigid support or a second material, the Snapmaker U1 is the better buy; its four toolheads keep the flex path separate, and that is worth the extra size and cost.